What Size Hearth Does a Log Burner Need in Wales?
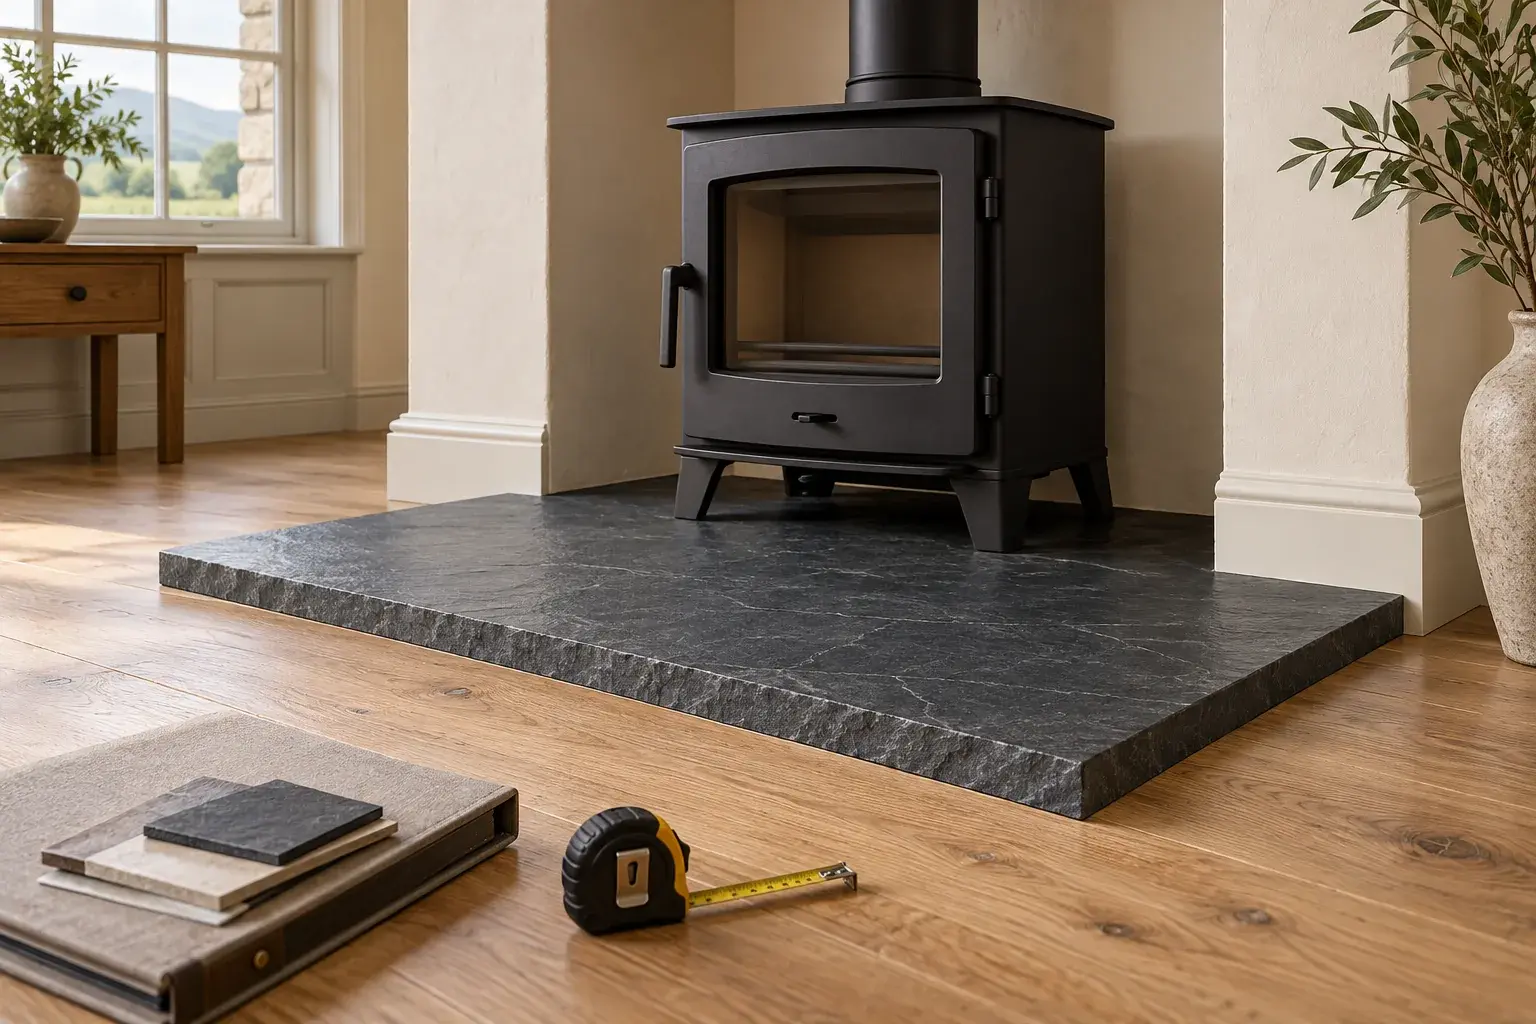
For a freestanding log burner, 840 × 840mm is a useful minimum starting point in council guidance—not a universal size to order. The finished hearth also has to suit the stove's position, required projections, floor construction and appliance instructions. A hearth advertised as “12mm” tells you its thickness, not whether the whole installation is suitable.
Before choosing slate, glass or another finish, ask your installer to mark the proposed stove and hearth on a plan. The key is to check both what supports the stove and the visible non-combustible area around it.
The image is an AI-generated editorial concept, not a completed customer installation. Its proportions, wall arrangement and materials are not a construction specification.
Two different hearth measurements can both be correct
A constructional hearth is the substantial non-combustible base beneath an appliance where that arrangement is required. A superimposed hearth is the surface layer above it. In some suitable installations, a thin hearth can perform the required role without a separate constructional base.
This distinction explains why two measurements found online may not describe the same thing. One may concern the base associated with a fireplace opening; another may describe the exposed surface measured from the stove itself. Do not use one to cancel the other.
The Welsh Government's Approved Document J, paragraphs 2.22–2.29 and diagrams 24–27, sets out the hearth guidance. For a Welsh home, use that edition rather than assuming an English article is the applicable reference.
What the familiar dimensions actually mean
The stove-installation guide hosted by Torfaen Council explains the freestanding 840 × 840mm figure and the projections around a stove. Read these as separate checks:
| Check | Starting point to discuss with the installer |
|---|---|
| Freestanding hearth footprint | The council guide gives a minimum 840 × 840mm; the appliance and layout can require more |
| Surface beside the stove | At least 150mm to each side |
| Surface in front of a closed appliance that cannot properly operate with its doors open | At least 225mm |
| Surface in front of an open appliance, or one that can properly operate with its doors open | At least 300mm |
The selected appliance's instructions must also be checked. Do not choose the smaller front projection merely because you normally shut the door. Ask which operating category the stove belongs to and where the measurement starts on its drawing.
For a stove in an existing fireplace recess, ask the installer to identify the constructional base and exposed surface separately. A rectangular slab sold for a freestanding stove does not automatically settle the requirements of that recess.
When is a 12mm hearth appropriate?
Welsh Approved Document J paragraph 2.23 describes the thin-hearth route for an appliance outside an appliance recess, tested to verify that the upper hearth surface cannot exceed 100°C. It calls for non-combustible board, sheet or tiles at least 12mm thick.
Otherwise, the guidance describes a constructional hearth, including a minimum 125mm thickness and separate protection from combustible material beneath it. The decorative slab's thickness alone cannot establish that the floor build-up complies.
Ask for the selected model's hearth declaration and the proposed construction—not an assurance based simply on its kW output. If the stove is in a recess, do not assume the thin-hearth shortcut applies; have the installer document the appropriate arrangement for that installation.
Why the stove manual matters before buying the slab
A generic minimum is not the complete product specification. As a concrete example, the 2022 Chilli Penguin installation manual hosted by HETAS, section 3.d, specifies at least 850 × 850mm for the freestanding hearths it describes. That differs from the often-quoted 840mm figure.
This is a document-specific example, not a recommendation for those models or a substitute for the current manual supplied with a chosen stove. It shows why ordering the hearth before confirming the appliance can create an avoidable mismatch.
Choose the appropriate heat output first using our log burner sizing guide, then obtain the exact appliance dimensions and installation instructions.
A shape-fit check before ordering
Illustrative planning example—not a customer job or an approved hearth design: suppose a shortlisted stove is 600mm wide. Adding a 150mm surface margin on both sides produces a width of 900mm. An 840mm-wide slab would therefore fail that width check even though its listing mentions a familiar minimum.
That calculation checks only width. It says nothing about depth, the rear wall, front projection, thickness or the supporting floor. Those remain separate design checks.
For your own shortlist, ask the surveyor to fill in this ordering sheet:
- Appliance: exact model and version of its installation manual.
- Setting: freestanding in the room or within a fireplace recess.
- Base: constructional hearth or documented thin-hearth arrangement; what is below it?
- Finished outline: width, depth and shape, with the stove's actual position drawn inside it.
- Projections: side, front and rear requirements marked from the correct reference points.
- Other clearances: walls, skirting, mantel and furnishings checked independently of the slab edge.
- Floor interface: which existing materials remain, which are removed, and how the boundary is formed.
- Approval to order: who confirms the final drawing before the hearth is cut or flooring altered?
For curved or corner hearths, use the actual outline rather than only the largest width and depth printed in a catalogue. A wide slab can still narrow where the required protected area needs to be.
Can the existing tiled floor be the hearth?
Do not judge that from a photograph or surface finish alone. Ask what is underneath, whether the build-up and support suit the appliance, and how the protected area will remain identifiable.
HETAS's hearth-marking guidance explains that the visible zone warns occupants about the hot appliance and discourages rugs, stored logs and other combustible items from encroaching. It also explains that marking the boundary does not always require a change of level; the arrangement must achieve the protective purpose.
That is a design discussion to resolve before new flooring is laid, not permission to extend timber flooring over an unseen base. A hearth's safe outline and a room's decorative flooring layout need to be agreed together.
What to include in your enquiry
Send a photograph of the whole fireplace wall and floor, any existing hearth dimensions, the stove model if chosen, and details of planned flooring changes. Ask the quote to distinguish retaining an existing base, rebuilding it and supplying the finished hearth. These are different scopes, as our log burner installation cost guide explains.
No masonry chimney? The hearth still needs designing alongside the complete flue route; see our no-chimney installation guide.
Smart Space Living offers log burner installation across its South Wales service areas. Request a survey and quote before ordering a hearth or changing the floor, and ask for an agreed stove-and-hearth drawing rather than choosing a slab from a generic minimum alone.